

aglio e olio e cipolla
aglio e olio e cipolla
an attempt at italian cooking, what to bring to a cookout, my HMart grocery list


I have a hard time with Italian cuisine. It might be that I didn’t grow up with it — the only Italian thing I ate growing up was lasagne — or maybe that I’m used to foods that are heavy handed on spice, or maybe even that I just haven’t had a variety of Italian food, but a lot of the time, the simplicity of the recipes breaks my brain. It’s hard for me to understand how such a minimal amount of ingredients can yield such interesting dishes.
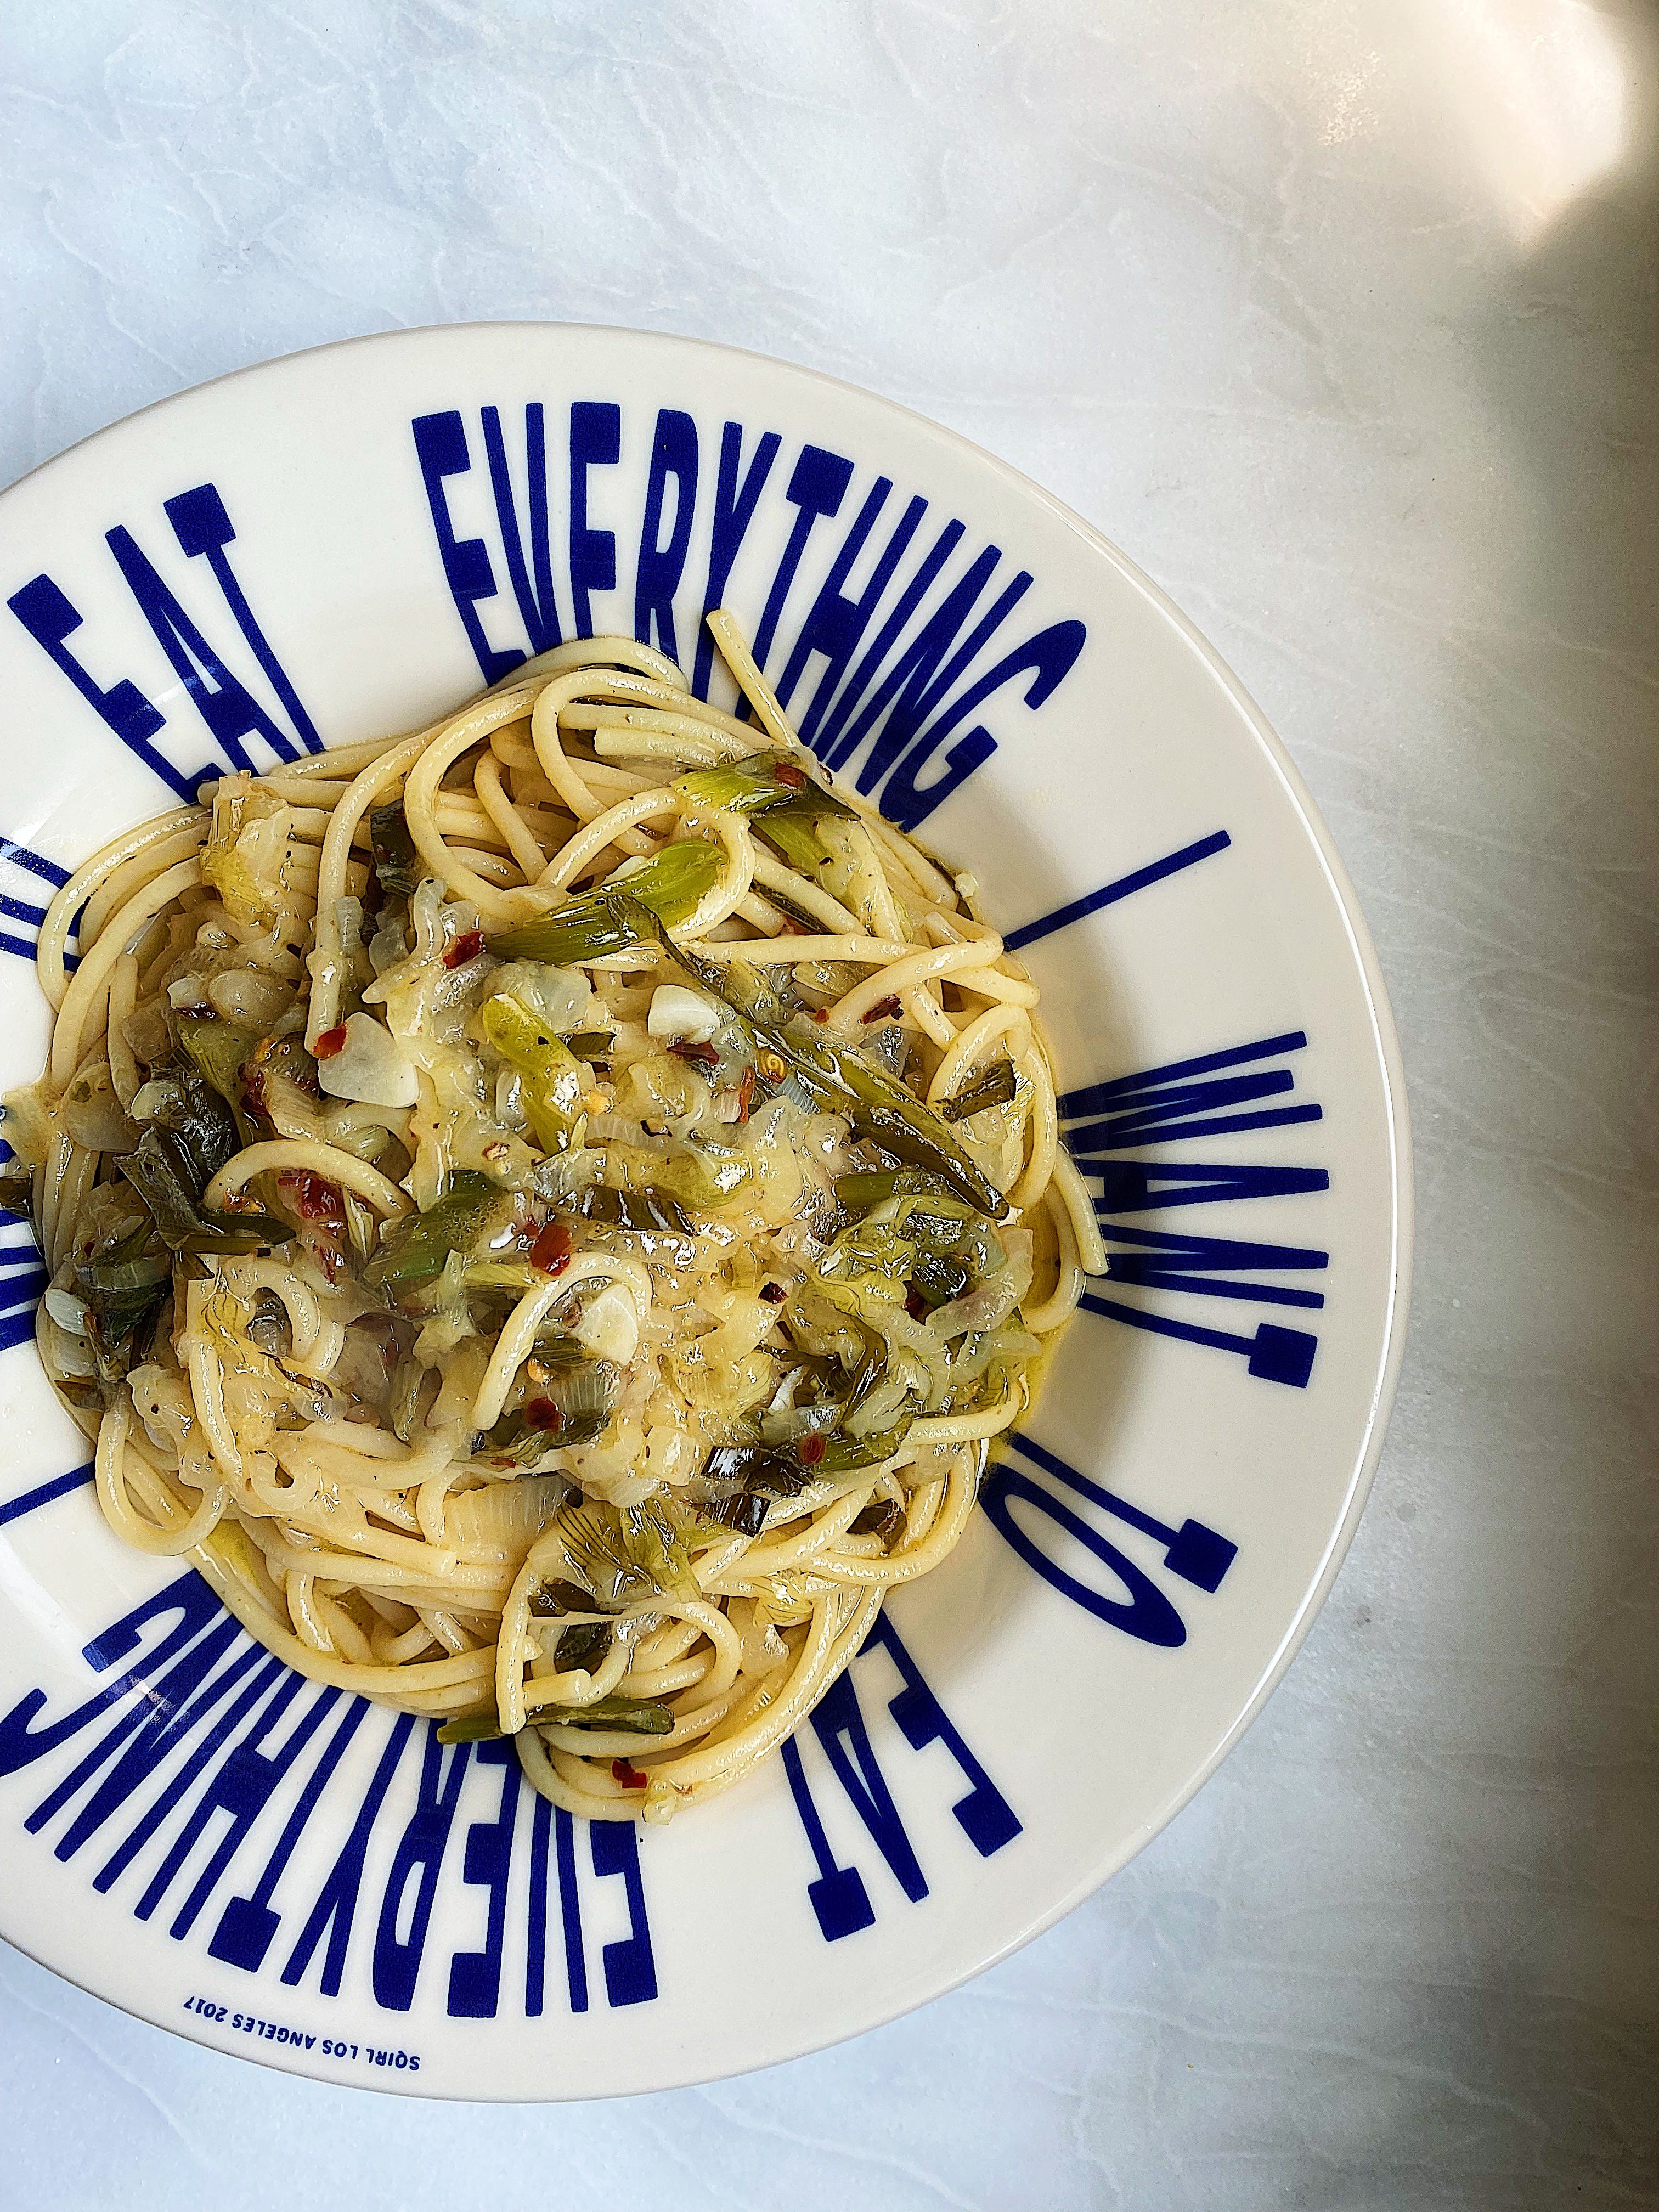
Anyway, I’m trying to keep an open mind. Last week at the farmer’s market (the Coolidge Corner one, if you must know) I found fresh spring onions and fresh garlic*, which are the newly harvested versions of the cured onion and garlic we commonly find in the supermarket. I also had some artisanal spaghetti waiting in my pantry for a dish I deemed worthy enough for them. I was waiting to find a recipe simple enough that it allowed the pasta to shine as opposed to drowning it in red sauce. I’ve never had aglio e olio and I’m not one to follow recipes too strictly, so seeing these fresh onions and garlic gave me the idea of combining them to make a classic Italian dish with a twist.
*For a refresher, spring onions have long green tops and a bulbous bottom that is either white or deep purple. They are different from green onions (or scallions) in that scallions are much smaller and have a slender, cylindrical white bottom.
For more about these fresh onions and garlic: after being harvested in the spring and summer, onions and garlic are left to dry and their moist, tender outer layers dry out and become papery, which protects them from spoiling. This is what makes these alliums resistant to molding, and it’s why they keep so long in the pantry! Fresh onion and garlic are a bit more mild than the cured ones we eat the rest of the year. However, if you purchased fresh garlic or spring onions, know that they’re interchangeable with regular onions and garlic in all recipes.

aglio e olio e cipolla
serves 2

featuring:
1 large white spring onion with the green bits intact
2-3 cloves garlic, peeled
1 small pinch red pepper flakes
8oz or 225g pasta (about 4 “servings” according to box instructions)
2 tbsp olive oil
1 lemon, juiced
salt and pepper
1 tbsp butter (optional)
wash and trim the onion: run the spring onion under cold water, making sure to thoroughly wash in between the crevices of the green tops (that’s where dirt tends to collect). Set a pot of generously-salted water to boil over high heat.
On a cutting board, use a chef’s knife to separate the bulb from the green tops. Trim the frayed ends and wilted parts of the spring onion’s green tops and discard. Hold your knife at a slight angle to the green tops and begin slicing the greens at a bias, or diagonally, in order to get long, angled slices. Set the sliced green tops aside in a small bowl. Slice your garlic cloves at a bias as well, in order to get larger pieces*. Add the sliced garlic to the same bowl as the green tops.
Cut the onion bulb in half through the stem, lay both halves flat on the cutting board, and slice them each thinly to create half-moons.
Heat a 12 inch pan over medium low heat. Add the 2 tablespoons of olive oil. Once the oil is shimmering, add the slices of white onion. Salt them. Allow onions to cook for around 10-13 mins, until translucent but NOT browning or crisping. If the onions begin to brown or crisp (dry out), immediately lower the heat. Meanwhile, add your pasta to the now boiling water and cook until 2 minutes underdone. Do not discard the pasta water.
Add the green slices of spring onion tops, sliced garlic, red pepper flakes, a few grinds of fresh black pepper, and more salt to the pan and stir thoroughly. Let everything cook around 1-2 mins, until the garlic is fragrant, and turn off the heat. Leave everything in the pan.
Once the spaghetti is 2 minutes away from being ready, use a pair of tongs to transfer the pasta from its boiling water right into the pan of sautéed onions and garlic. Turn the heat back on under the pan of onions and use your tongs to toss the pasta into the onion mixture. Slowly add a half cup of pasta water into the pan while simultaneously mixing everything together to create an emulsification.
Bring the pan to a simmer and continue to slowly toss the pasta into the the thickening sauce. Add in the lemon juice. Once the sauce has thickened, taste for seasoning and then add more salt and/or more lemon juice depending on what you think it needs. You can also add butter at this stage if the sauce is lacking creaminess. If your pasta is still tasting raw or too al dente, add another half cup of pasta water and allow the pasta to continue simmering until the sauce is at your desired thickness again. I like the sauce to be glossy and coating the pasta strands, but I want to see some sauce left in the pan too. Taste again and serve immediately.
*slicing any vegetable (or meat) diagonally yields larger pieces than slicing them vertically, giving you more exposed surface area that can caramelise when sauteed, therefore creating more flavour. Cutting on the bias is also helpful with fibrous vegetables like celery or tough cuts of meat, as you’re cutting against the direction of it’s fibers/grain
alio e olio is meant to be a simple meal made out of pantry essentials, so of course you can make it with regular garlic instead of fresh. Traditional alio e olio recipes don’t have onions at all, but you can recreate this recipe with regular yellow onions instead of fresh spring onion. From my research, it seems that adding grated parm to this dish is a no-go, but I think it can be enhanced with some crunchy pecorino breadcrumbs á la Alison Roman. Also, some chopped parsley never hurt a dish!
tomato season, to-mah-to season
I’m waiting for tomato season to start and heard that they’ll hit the farmer’s markets around the second week of August. Meanwhile, my insta feed is lambasting me with tomato sandwich recipes, namely Eric Kim’s and Carolina Gelen’s recipes.

These two recipes feature furikake and MSG, respectively, neither of which I have, meaning I need to make a trip to HMart before summer tomatoes hit the stands. Also on my grocery list are Kewpie mayo, Gochugaru, a big thing of sesame seeds, Choco Boy chocolate mushrooms, and a chiffon cake from the pastry section. What are your favourite HMart products, and what should I add to my list?
what i’m bringing to the cookout
It’s peak summer and high time for cookouts. If you’re not the one hosting, then you know that the side dish or dessert are your place to shine. I have a few calculations I like to keep in mind before deciding on the dish I’m bringing:
Is the event being held at (or right outside) someone’s home or in a park/beach, i.e. somewhere without access to running water?
Is there a place to wash my bowls/serving utensils? Consider all this ahead of time. Once all the food you brought is eaten, how are you going to take your bowls, lids, and serving utensils home without getting your own clothes/bags oily or sticky? If the party is at someone’s house, you can easily give things a rinse in the kitchen. If the party’s outdoors, come prepared with plastic bags and paper towels for cleanup.
What’s the weather like? This one’s important in case an event is taking place outdoors in 90+ degree heat. Mayo or dairy-heavy foods must be avoided at all costs unless you want to get people sick.
How much cold storage space does the host have? Typically at parties, the host’s fridge is reserved for beer and beverages. If the party’s outdoors, does the host have a cooler? Do they have enough ice to last through the day? It’s simpler to stick with bringing foods that don’t need refrigeration or reheating at all, unless you’ve discussed it previously with the host.
How many people RSVPed? I like to make enough servings so that around half the attendees can try out a SMALL portion of my dish
How many people am *I* bringing as my plus one? I firmly believe that you should bring the same number of dishes to a cookout as the number of people in your party. The portions don’t have to be massive, but the variety shows care. (If you’re bringing your family, the rules are different, but I don’t have a family of my own, so I’m not sure what that etiquette entails).
Having gone through my mental list of criteria, here’s a few favourites you can typically expect from me: it’s safe to say that it’s hard to go wrong with pasta salad, especially ones with minimal dairy and meat. My all-time favourite pasta salad recipe is Smitten Kitchen’s roasted carrot pasta salad, which uses all parts of the carrot. This recipe is economical since its pesto-dressing relies on sunflower seeds + green carrot tops. It is delicious cold or at room temp.
Depending on the theme of party you’re going to, cornbread or southern biscuits are a welcome sight. This lemony potato salad (sans mayo) — the first recipe I ever published on here — is starchy, acidic, and comforting but light thanks to its zingy dressing. If you see any sort of bean or lentil salad recipe that the author says “gets better the longer it sits in the fridge” then you can bet that dish will be a hit too, since you can prep it a day or two in advance of your event and relax the day of the cookout.
Finally, a simple salad made of fresh greens (spring mix, arugula, or spinach) with some fresh fruit (sliced apples, grapes, berries, or pears), a little funky cheese (shaved parmesan, crumbled blue cheese, feta, or goat cheese), something crunchy (salted nuts, candied nuts, croutons, or chips), and a zippy dressing (equal parts lemon juice or vinegar and olive oil, lots of salt and pepper, maybe 1-2 cloves of grated garlic. don’t add the dressing to the salad until it’s time to eat) cannot fail.
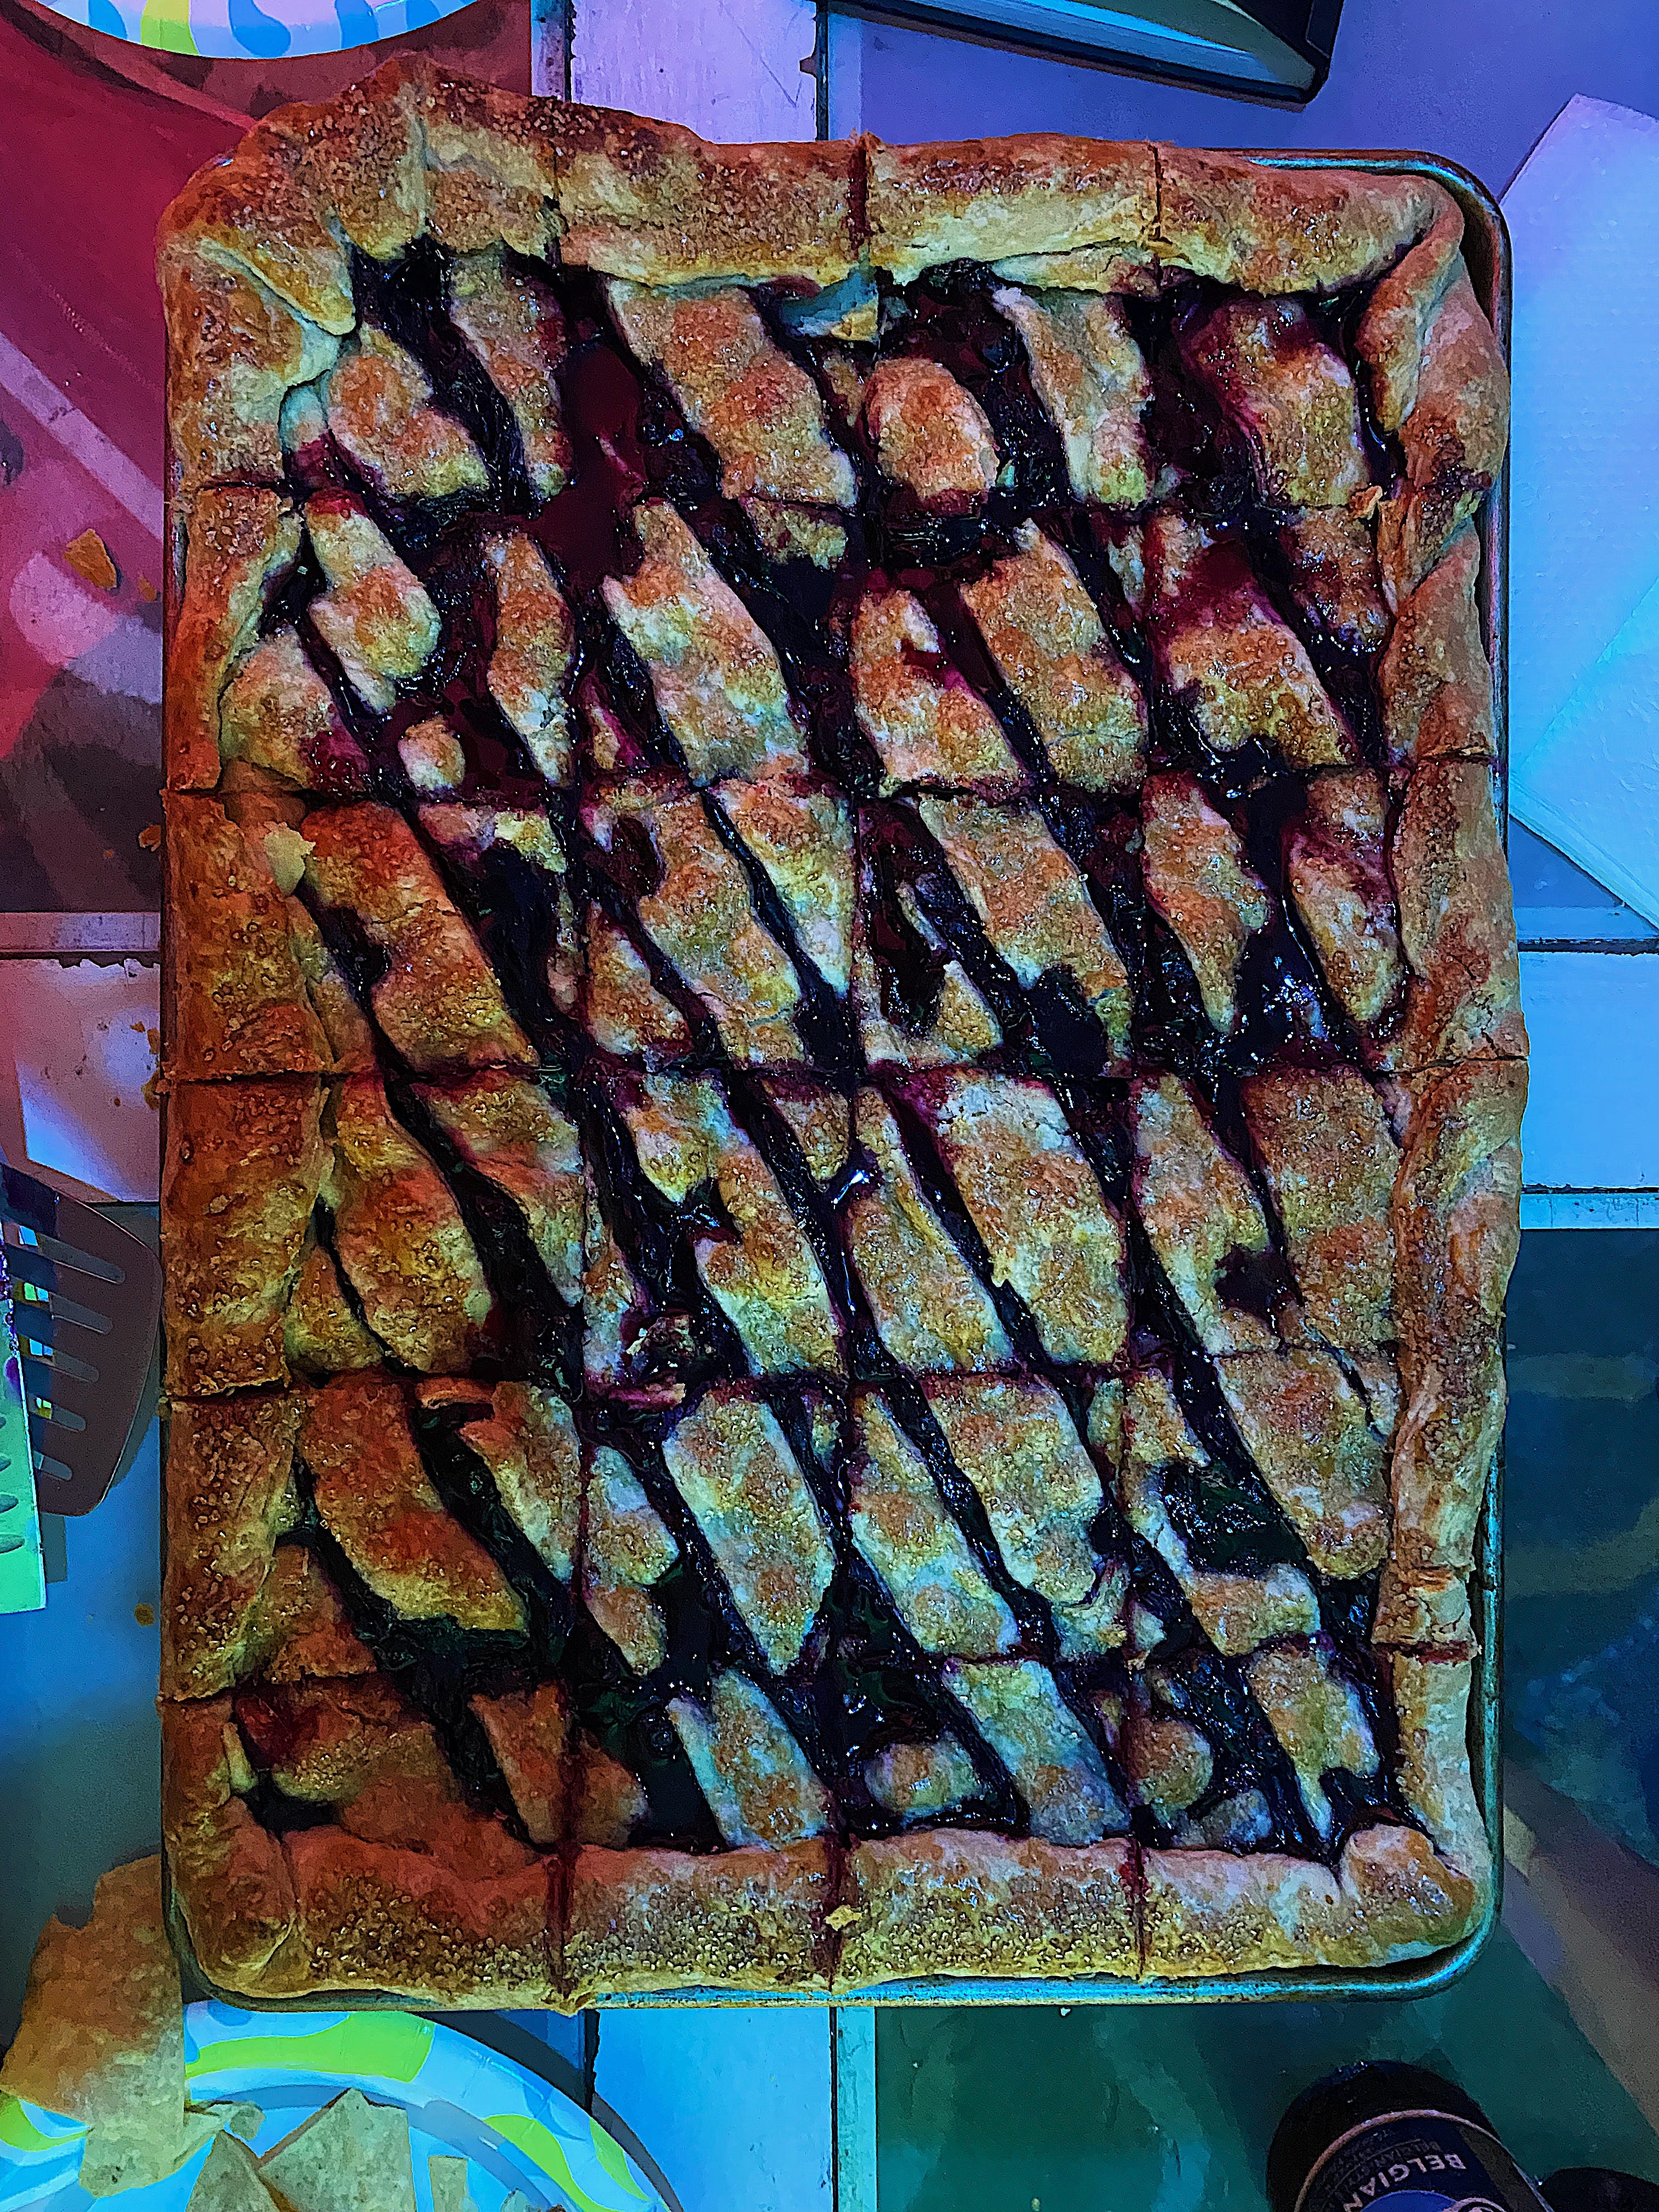
For dessert, my preferred thing to bring is an excellent watermelon, cut up into easy-to-maneuver triangles with the rind cut off. This past weekend, I made yet another Claire Saffitz dessert from Dessert Person (the second dish I’ve baked from her book this week), her massive blueberry slab pie, clocking in as the biggest thing I’ve ever baked since it was made on a half sheet, coming in at a whopping 24 servings of pie. It was a lot of work and the pie itself needs to be baked day of and left to cool for 3 hours before you can comfortably transport it, but the challenge was rewarding, especially with the reactions the pie got at the party itself.
